
Tip & Trick
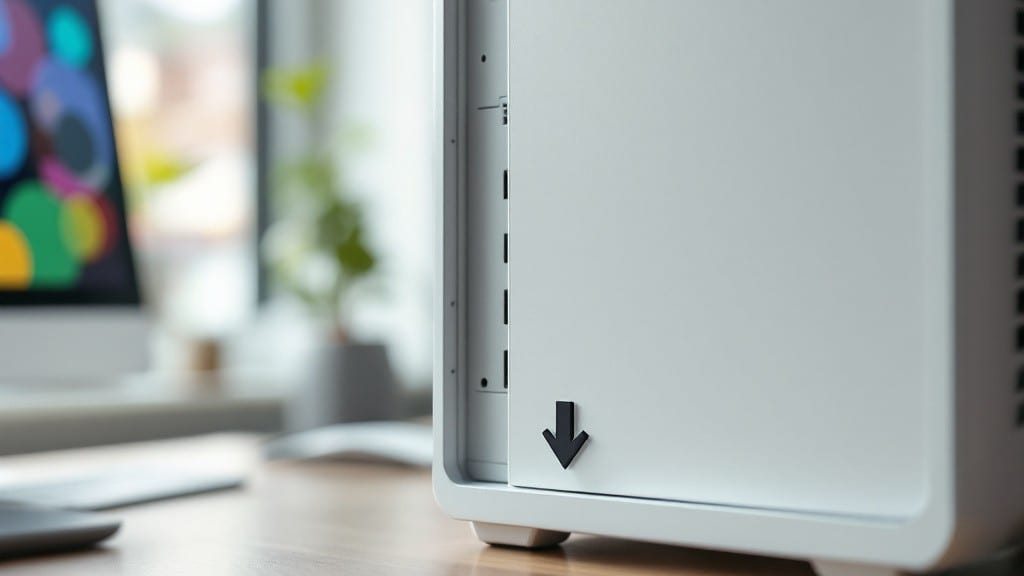
Installing RAM in a desktop PC is simpler than most people think—no tools required, and I’ve done it hundreds of times in my uncle’s basement workshop since 1998. The key is patience and a clean workspace, because static electricity or misaligned clips can ruin a perfectly good stick of memory.
My first time, I nearly bent a slot trying to force it in, but once you learn the rhythm, it becomes second nature.
You’ll need just two things: the RAM itself (check your motherboard’s manual for compatible types) and a wrist strap or grounded surface to prevent static discharge. Most modern RAM uses a zero-ohm insertion force, meaning it clicks into place without resistance—no need for screwdrivers or prying tools.
The process takes under five minutes if you’ve prepped your system properly, and I’ll walk you through every step, including how to verify the install in BIOS.
After installation, your system should detect the new RAM automatically, but if it doesn’t, a quick BIOS reset or reseating the modules usually fixes the issue.
I’ve seen users panic when their PC boots into an error loop, but 90% of the time, it’s just a matter of pushing the RAM fully into the slot until the clips latch.
For long-term maintenance, keep your system clean and avoid touching the gold contacts—oxidation is the silent killer of RAM performance over time.
This method works for any desktop with open RAM slots, from budget builds to high-end workstations. Once you’ve mastered the basics, you’ll wonder why you ever paid someone else to do it. Let’s get started—your next upgrade is just a few clicks away.
📚 In This Guide
- What you need
- Instructions
- Tips and common mistakes
- Wrapping up and next steps
What you need
- ● RAM module(s): Match your PC’s type (DDR4, DDR5, etc.), capacity (e.g., 8GB, 16GB), and speed (MHz). Check your motherboard manual for exact specs!
- ○ Anti-static wrist strap (optional but recommended): Protects your components from static electricity. If you don’t have one, touch the metal part of your case or a grounded surface before handling RAM.
- ○ Screwdriver (optional): Only needed if your case has a latch or if you’re removing/reinstalling the motherboard tray.
- ● Flashlight or phone light: Helps you see those tiny RAM slots clearly!
- ○ Compressed air (optional): Clean out dust from your case before opening it up.
Step-by-step instructions for installing RAM in a desktop PC
Here's how to upgrade your system's memory without tools or technical headaches.
Power Down and Prepare the System
Begin by shutting down your desktop completely and unplugging the power cable from the back. I always hold the power button for 5-10 seconds afterward to discharge any residual power in the motherboard. This small precaution prevents static electricity from damaging sensitive memory modules.
Next, ground yourself by touching the metal chassis of the case. This ensures any static electricity built up in your body safely dissipates into the case rather than potentially damaging the RAM modules. For extra safety, I recommend working on a non-carpeted surface to minimize static buildup.
Locate and Remove the Existing RAM
Open the case by removing the side panel screws or sliding the panel off. Most cases use either 2-4 thumbscrews or a sliding mechanism. Once the panel is off, locate the RAM slots on the motherboard—these are the long, vertical slots near the CPU, typically covered by existing memory modules.
Gently press the clips on either end of the RAM module outward until you hear a small click. The module should pop up slightly at an angle. Once released, lift the module straight out of its slot. If you're upgrading, you'll likely see 2-4 slots depending on your motherboard, with the first two often being the primary pair for dual-channel performance.
Align and Insert the New RAM
Take your new RAM module and align it with the slot, matching the notch on the bottom edge of the module with the corresponding gap in the slot. The notch ensures the module is oriented correctly—if it doesn't align, you've got it upside down. Insert the module at a 30-degree angle into the slot, then press down firmly until the clips on either side snap into place.
You'll hear a distinct click when the module is fully seated. If you feel resistance or the module doesn't snap in, remove it and reinsert it at the correct angle. The clips should hold the module securely—don't force it. For dual-channel setups, insert the second module into the slot directly across from the first one, matching the notch alignment again.
Reassemble and Boot the System
Once the new RAM is securely seated, replace the side panel of the case and reattach any screws or clips. Plug the power cable back in and turn on the system. As the computer boots, listen for any beeps or watch for error messages on the screen—most motherboards emit a single beep to confirm successful RAM installation.
If the system boots normally, enter the BIOS or UEFI setup (usually by pressing Delete, F2, or F12 during startup) to verify the new RAM is detected. Look for the memory section to confirm the correct capacity and speed are listed. If the BIOS doesn't recognize the RAM, reseat the module and check for proper alignment.
Tips & tricks for perfect RAM installation
These simple but crucial tips will help you avoid common pitfalls and ensure your RAM upgrade goes smoothly—no technical headaches required.
Static Electricity Prevention: I can't stress this enough—static electricity is the silent enemy of RAM modules. After unplugging your system, hold that power button for the full 5-10 seconds as instructed. I've seen perfectly good RAM fail because someone skipped this step. Also, avoid working on carpeted floors—static builds up much faster there. A simple metal desk or even the computer case works perfectly for grounding.
Case Opening Strategy: When removing those 2-4 thumbscrews or sliding panels, work slowly. I've dropped screws down cases more times than I'd admit—keep a small container handy to catch them. Most cases have rubber feet that pop off easily, so you can remove the entire case bottom if needed for better access. Just remember to put everything back exactly where it came from when you're done.
RAM Alignment Secret: That 30-degree angle insertion might seem tricky, but here's my trick: hold the module by the edges, not the top or bottom. The notch will naturally guide you into the correct position. If you feel resistance beyond the initial push, you're either upside down or pushing too hard. A gentle but firm press should make that satisfying click. For dual-channel setups, I always install the second module first—it's easier to align when there's nothing blocking the slot.
Post-Installation Verification: That single beep at startup is your green light, but don't stop there. Entering BIOS to check the capacity and speed is non-negotiable. I've seen systems boot normally even with misaligned RAM—don't assume everything's fine just because it turns on. If the BIOS shows incorrect values, power down immediately, reseat the module, and try again. Most motherboards display error codes or beep patterns for specific issues, so pay attention to those too.
Pro Tips for Install Ram In A Desktop Pc
- These simple but crucial tips will help you avoid common pitfalls and ensure your RAM upgrade goes smoothly—no technical headaches required.
- Static Electricity Prevention: I can't stress this enough—static electricity is the silent enemy of RAM modules.
- Case Opening Strategy: When removing those 2-4 thumbscrews or sliding panels, work slowly.
Frequently asked questions
Got questions about upgrading your RAM? Here are some of the most common ones—and their answers—to help you feel confident before diving in!
Do I need to turn off my PC to install RAM?
Yes! Always power down your PC and unplug it before opening the case. RAM modules are sensitive to static electricity, and you want to avoid any accidental shocks or data loss. Safety first—no shortcuts here!
Can I use any RAM in my desktop?
Not quite! Check your motherboard’s manual or specs for supported RAM types (e.g., DDR4, DDR5), speed (MHz), and capacity (GB). Mixing incompatible RAM can cause errors or even damage. Stick to the same type/speed for best performance.
How long does it take to install RAM?
If you’re prepared, it takes 5–10 minutes—even for beginners! The actual insertion is quick, but double-checking compatibility, seating, and booting up adds time. Pro tip: Watch a quick video first to visualize the steps.
What if my PC won’t recognize the new RAM?
First, reseat the RAM firmly. If that fails, check BIOS settings (press Del/F2 during boot) to ensure it’s enabled. If you mixed speeds/types, your PC may default to the slower module. For stubborn issues, consult your motherboard’s manual or manufacturer support.
Can I upgrade RAM later if I don’t need it now?
RAM is modular—just leave empty slots for future upgrades. However, matching kits (same brand/speed) often work best. If you’re unsure, start with one stick now and add another later when your needs grow!
Wrapping up and next steps
Installing RAM in your desktop PC is easier than you think—no tools required! 🎉 With just a little patience and the right steps, you’ve just unlocked faster performance for your system.
Now that you’re equipped with the knowledge, it’s time to boost your PC’s potential and enjoy smoother multitasking, gaming, or creative work.
Ready for the next upgrade? Check out our guide on optimizing your new RAM for peak performance—or dive into other stress-free PC tweaks!